


PSLE Water Cycle: The 4-Step Method for Full Marks on Condensation Questions

Why Singapore Students Lose Marks in Water Cycle Questions?
We understand that helping your child navigate the primary school science syllabus and cope with the high-pressure PSLE Science preparation can feel like an incredibly stressful and demanding experience for busy families in Singapore. Specifically, we observe that primary school students often struggle to apply classroom theories to practical scenarios, leaving them with unaddressed learning gaps and exam anxiety. We believe that by systematically aligning home experiments with the Ministry of Education (MOE) curriculum and choosing the right academic support, your child is fully empowered to close their learning gaps, stay on track and achieve their academic potential.
The water cycle, particularly the concept of condensation, is a staple of the Singapore primary school science curriculum. Year after year, condensation questions appear in both multiple-choice and open-ended sections, often carrying significant weight. Yet, many Primary 5 and Primary 6 students consistently lose marks here. The issue is rarely a lack of understanding. Most students can easily define condensation as the process where a gas turns into a liquid. However, when asked to explain real-world scenarios, such as water droplets forming on a cold glass of Milo or a can of Coke, they write vague, incomplete answers that fail to meet the strict marking rubrics.
The 4-Step Method for Full Marks on Condensation
To secure full marks in Section B, students must move away from conversational language and adopt a structured, scientific explanation. Tutors and top-performing students use a precise 4-step condensation method to construct complete, keyword-rich answers that examiners favour.
- Step 1: Identify the source of water vapour. Students must state where the water vapour is coming from, such as the warmer water vapour in the surrounding air. Specifying "water vapour" instead of "water" or "air" is essential.
- Step 2: Establish the contact and direction of heat flow. Explain that this water vapour comes into contact with a cooler surface (such as the outer surface of a cold metal can) and loses heat to it. The direction of heat transfer must be explicit.
- Step 3: State the change of state. Use the precise scientific keyword "condenses" to describe the transition from a gaseous state to a liquid state.
- Step 4: Describe the final visible outcome. Conclude by stating that the condensed water vapour forms liquid water droplets on the cooler surface.
By systematically following these four steps, students ensure they do not miss any critical details, transforming a jumbled explanation into a logical, high-scoring scientific argument.
Applying the 4-Step Method to Real-World Exam Questions
To help your child master this technique, let us compare a typical student response against a full-mark answer using a classic exam scenario: Explain why water droplets form on the outside of air-conditioning pipes on a hot day.
| Typical Student Response (Partial Marks) | Full-Mark Response Using the 4-Step Method |
|---|---|
| "The air-conditioning pipes are very cold. The warm air around the pipes gets cold and turns into water droplets on the outside of the pipes." Why it loses marks:
|
"The warmer water vapour in the surrounding air comes into contact with the cooler outer surface of the air-conditioning pipes. The water vapour loses heat to the cooler surface and condenses to form water droplets on the outside of the pipes." Why it gets full marks:
|
This comparison demonstrates that exam success is about precise communication. Teaching your child to treat condensation questions as a logical sequence of cause, concept and consequence is a powerful way to build their academic confidence and ensure they score maximum marks under timed conditions.
Simulating the Water Cycle: The Covered Beaker Experiment
We understand that helping your child navigate the primary school science syllabus and cope with the high-pressure PSLE Science preparation can feel like an incredibly stressful and demanding experience for busy families in Singapore. Specifically, we observe that primary school students often struggle to apply classroom theories to practical scenarios, leaving them with unaddressed learning gaps and exam anxiety. We believe that by systematically aligning home experiments with the Ministry of Education (MOE) curriculum and choosing the right academic support, your child is fully empowered to close their learning gaps, stay on track and achieve their academic potential.
In addition to everyday examples like cold drink cans, examiners frequently use laboratory-style experimental setups in Section B of the PSLE Science paper. A classic question features a beaker of warm water sealed with a plastic sheet, with an ice pack placed on top. Students are asked to explain how water droplets form on the underside of the plastic sheet. To tackle this, we can apply our 4-step condensation method to ensure no critical steps are omitted.
Breaking Down the Covered Beaker Setup
To write a flawless, full-mark answer, students must explain both the evaporation and condensation processes in a logical sequence:
- Step 1: Identify the source. The warm water in the beaker gains heat from its surroundings and evaporates to form warmer water vapour.
- Step 2: Establish contact and heat flow. The warmer water vapour rises and comes into contact with the cooler underside of the plastic sheet.
- Step 3: State the change. The warmer water vapour loses heat to the cooler plastic sheet and condenses.
- Step 4: Describe the outcome. It condenses to form liquid water droplets on the underside of the plastic sheet.
This systematic approach shows the examiners that your child understands the complete cause-and-effect loop. It prevents them from losing marks due to incomplete explanations, which is a common issue addressed in science tuition for Primary 5 and Primary 6.
Tackling Experimental Variables in Water Cycle Questions
Examiners often modify this experiment to test higher-order thinking. For example, they might ask: What happens to the amount of water droplets formed if hot water is used instead of warm water? or What happens if the ice pack is removed?
To answer these variations confidently, teach your child to link the changed variable to the rate of evaporation or condensation:
- Using hot water: Hot water has a higher temperature, which increases the rate of evaporation. This produces more water vapour, leading to a faster rate of condensation and more water droplets forming on the plastic sheet in the same amount of time.
- Removing the ice pack: Without the ice pack, the plastic sheet is not as cold, making the temperature difference between the water vapour and the plastic sheet smaller. The rate of condensation decreases, resulting in fewer water droplets forming.
By practising these "what-if" scenarios at home, your child will learn to think like a scientist, turning a challenging exam question into a predictable, high-scoring opportunity.
From Beaker to Biosphere: Cloud Formation in the Natural Water Cycle
The beauty of the 4-step condensation method is that it applies equally well to large-scale natural processes. A common PSLE Science question asks students to explain how clouds are formed in the natural water cycle. This can be answered using the exact same logical steps:
- Step 1: Water in reservoirs, oceans and other water bodies gains heat from the Sun and evaporates to form warmer water vapour.
- Step 2: This warmer water vapour rises and comes into contact with the cooler air in the upper atmosphere.
- Step 3: The water vapour loses heat to the cooler air and condenses.
- Step 4: It condenses into tiny water droplets, which gather together to form clouds.
This illustrates that scientific principles are universal. Once your child masters the core frameworks, they can apply them to any scenario, whether it is a small-scale laboratory experiment or the global water cycle. Fostering this conceptual mastery is a primary goal of any effective Primary 6 science tuition programme.
Clearing Up a Common Confusion: Evaporation vs Boiling
Students often mix up evaporation and boiling, which can lead to flawed explanations. While both processes turn liquid into gas, they are not the same. Understanding this is crucial for topics covered in Primary 6 Science tuition.
| Factor | Evaporation | Boiling |
|---|---|---|
| Temperature | Occurs at any temperature. | Occurs at a fixed temperature (100°C for water). |
| Location | Occurs only at the surface of the liquid. | Occurs throughout the entire liquid. |
| Bubbles | No bubbles are formed. | Bubbles are formed. |
Achieve Academic Goals With Geniebook's Tech-Enabled Suite
At Geniebook, our suite of online learning products is designed to complement your child's primary school preparation, helping primary and secondary school students learn smarter, stay on track and do better. We believe that when technology supports experienced educators, your child is fully empowered to close their learning gaps and achieve their academic potential.
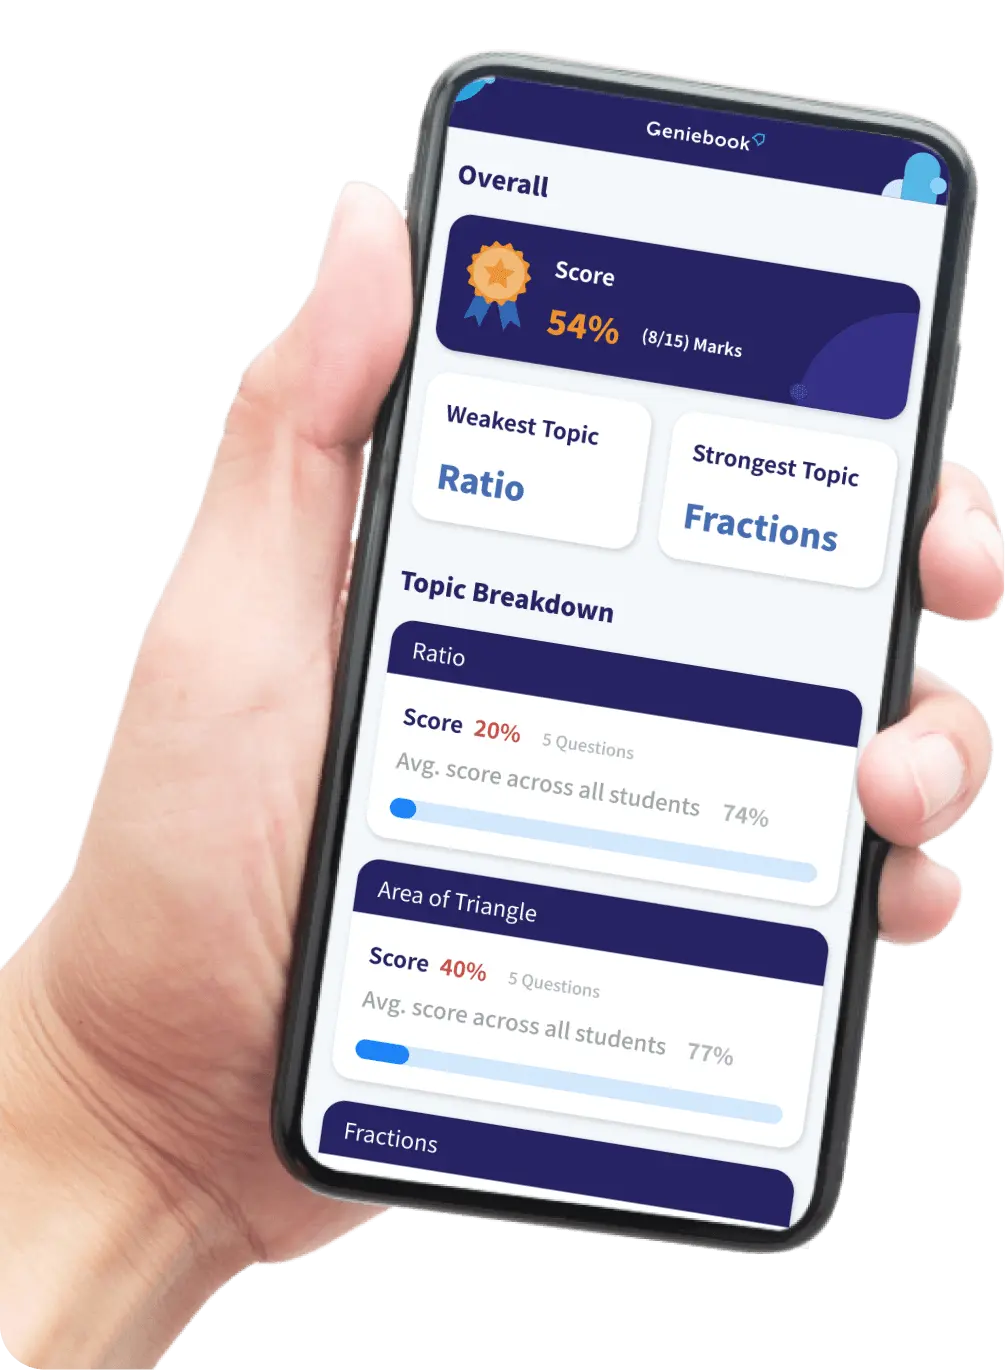
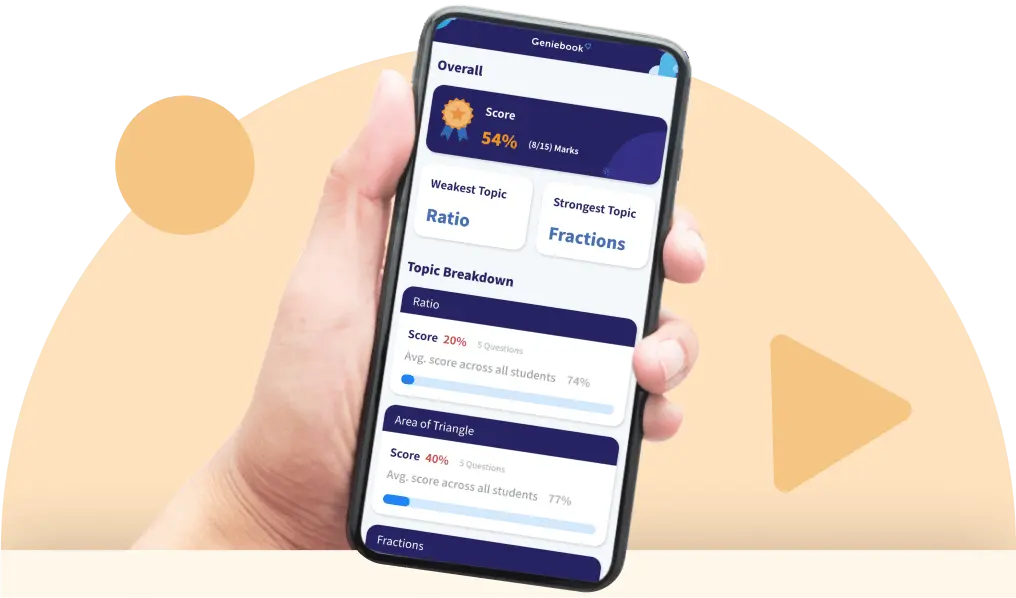
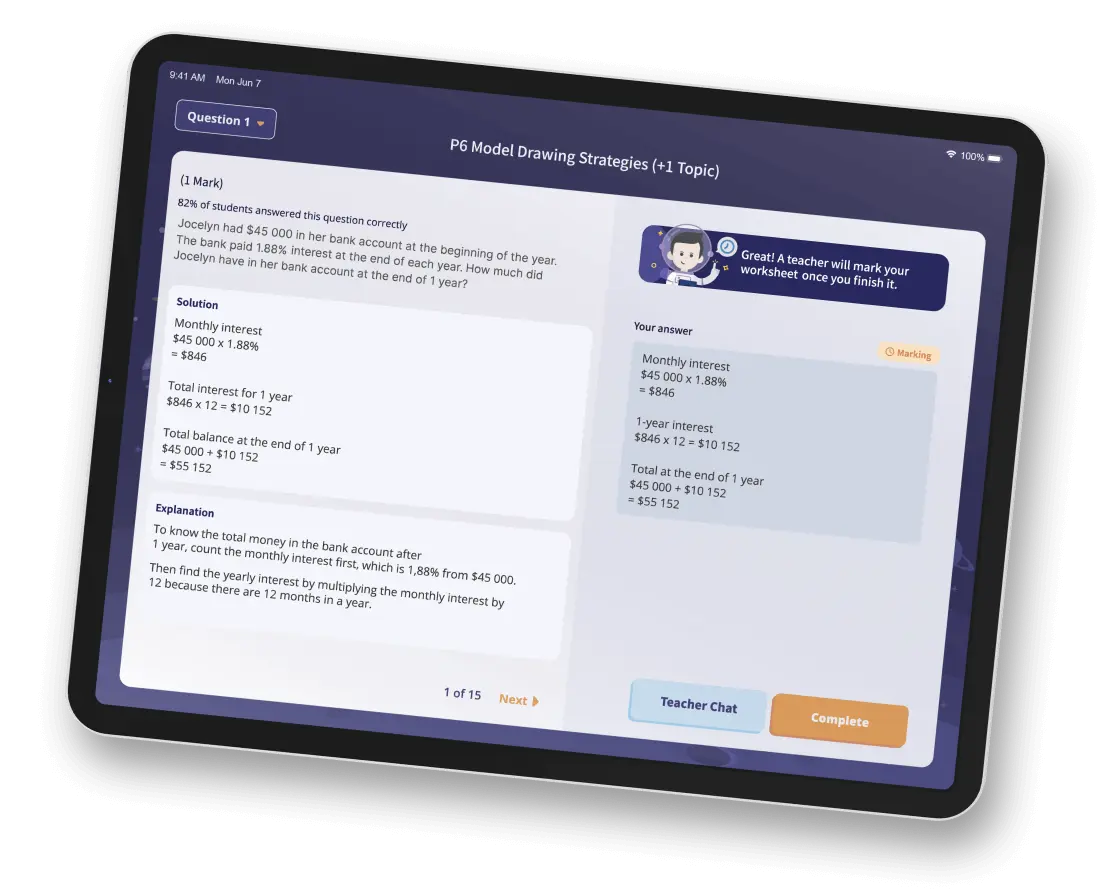
Through GenieSmart, our AI-personalised worksheets recommend targeted practice questions strictly aligned with the MOE syllabus, with difficulty levels that constantly adjust to your child's mastery of each topic. With over 300,000 questions in our database, our proprietary AI algorithm leverages over 1,000,000 data points to identify strengths and learning gaps. Our new AI-marking feature covers 80% of all Primary 3 to Primary 6 Science Open-Ended Questions (OEQs) and provides immediate feedback, allowing students to benefit from a faster learning loop by receiving their marks and Bubbles immediately upon submitting their answers.
On GenieClass, experienced educators lead weekly live online classes, explaining complex scientific concepts, experimental setups and answering techniques using storytelling, live polls and interactive demonstrations.
If your child has doubts or needs help with homework, they can clarify concepts instantly through our real-time teacher chat on GenieAsk, which offers continuous support seven days a week. Additionally, our unique rewards system motivates students to learn independently. As your child completes worksheets and participates in classes, they earn Bubbles that can be redeemed for over 5,000 exciting, kid-safe items from our Bubble Store, turning daily practice into a rewarding habit. With half of our students successfully achieving AL 1 to AL 3 in PSLE and jumping two grades on average, we believe our personalised pedagogy is highly effective in building academic confidence. Partner with Geniebook to help your child stay focused and on track for their upcoming examinations.
Frequently Asked Questions About the PSLE Water Cycle
We understand that helping your child navigate the primary school science syllabus and cope with the high-pressure PSLE Science preparation can feel like an incredibly stressful and demanding experience for busy families in Singapore. Specifically, we observe that primary school students often struggle to apply classroom theories to practical scenarios, leaving them with unaddressed learning gaps and exam anxiety. We believe that by systematically aligning home experiments with the Ministry of Education (MOE) curriculum and choosing the right academic support, your child is fully empowered to close their learning gaps, stay on track and achieve their academic potential.
To help you and your child navigate this challenging topic, we have compiled some of the most frequently asked questions about the water cycle and condensation, along with the precise answering techniques required for the exam.
Why Do Students Often Confuse Steam With Water Vapour?
Water vapour is water in its gaseous state and is completely invisible. Steam, on the other hand, consists of tiny liquid water droplets suspended in the air that have already condensed. In the exam, students must never refer to steam as a gas. Describing steam as a gas is a common misconception that is systematically corrected in any primary science tuition programme.
What Is the Difference Between Evaporation and Boiling?
While both processes involve water changing from a liquid state to a gaseous state, there are three key differences that Primary 5 and Primary 6 students must memorise:
- Temperature: Evaporation occurs at any temperature between 0°C and 100°C, while boiling only occurs at the boiling point of water, which is 100°C.
- Location: Evaporation is a surface phenomenon that only takes place at the surface of the liquid, whereas boiling occurs throughout the entire liquid.
- Rate: Evaporation is a slow and silent process, while boiling is a rapid and violent process that produces bubbles.
Why Is the Direction of Heat Flow So Important in Condensation Questions?
Examiners look for precise scientific reasoning when grading Section B. Simply writing that "water vapour turns into water droplets on the cold surface" is incomplete. Students must explicitly state the direction of heat transfer: the warmer water vapour loses heat to the cooler surface. Teaching this level of detail is a core focus of specialised Primary 6 science tuition to ensure students secure maximum marks under exam pressure.
How Does Temperature Difference Affect the Rate of Condensation?
The greater the temperature difference between the warmer water vapour and the cooler surface, the faster the rate of condensation. This is why more water droplets form on a cup filled with ice than on a cup filled with tap water in the same amount of time.